Introduction


A WebQuest For Intro to Athletic Training Courses
Designed by: Ms. Randa Hart
In this career field you will hear the words, " Will you tape my ____," more times than you know throughout your life as an Athletic Trainer. Because of this in this activity you will learn how to correctly tape an ankle. It will be difficult at first to accomplish but it will get easier with practice and time. Because of the amount of ankles that you will tape it is critical that you get to working on your skills now! It is also important for you guys to know the basics of ankle taping, but to also be ablwe to apply your skills efficently.
Task

During this assignment your should complete the following tasks:
- This task will be beneficial in learning life lasting skills
- It will be difficult to master at first but will get easier
- It takes a great deal of practice to become efficent and comfortable to apply it to a real patient.
- It will require you to learn the correct way to tear tape.
- It will also take a bit of thinking and memory skills to remember the way to form a : heel-lock, stir-up, figure 8, and horseshoe to correctly tape an ankle.
- Overall, this lesson should benefit you in ways that will stay with you throughout your career.
Process

1. Materials needed: 1½" athletic tape, Tuf-Skin/Quick Drying Adhesive,
two pads to help prevent blistering (2" x 2" non-adhesive dressing), and pre-wrap
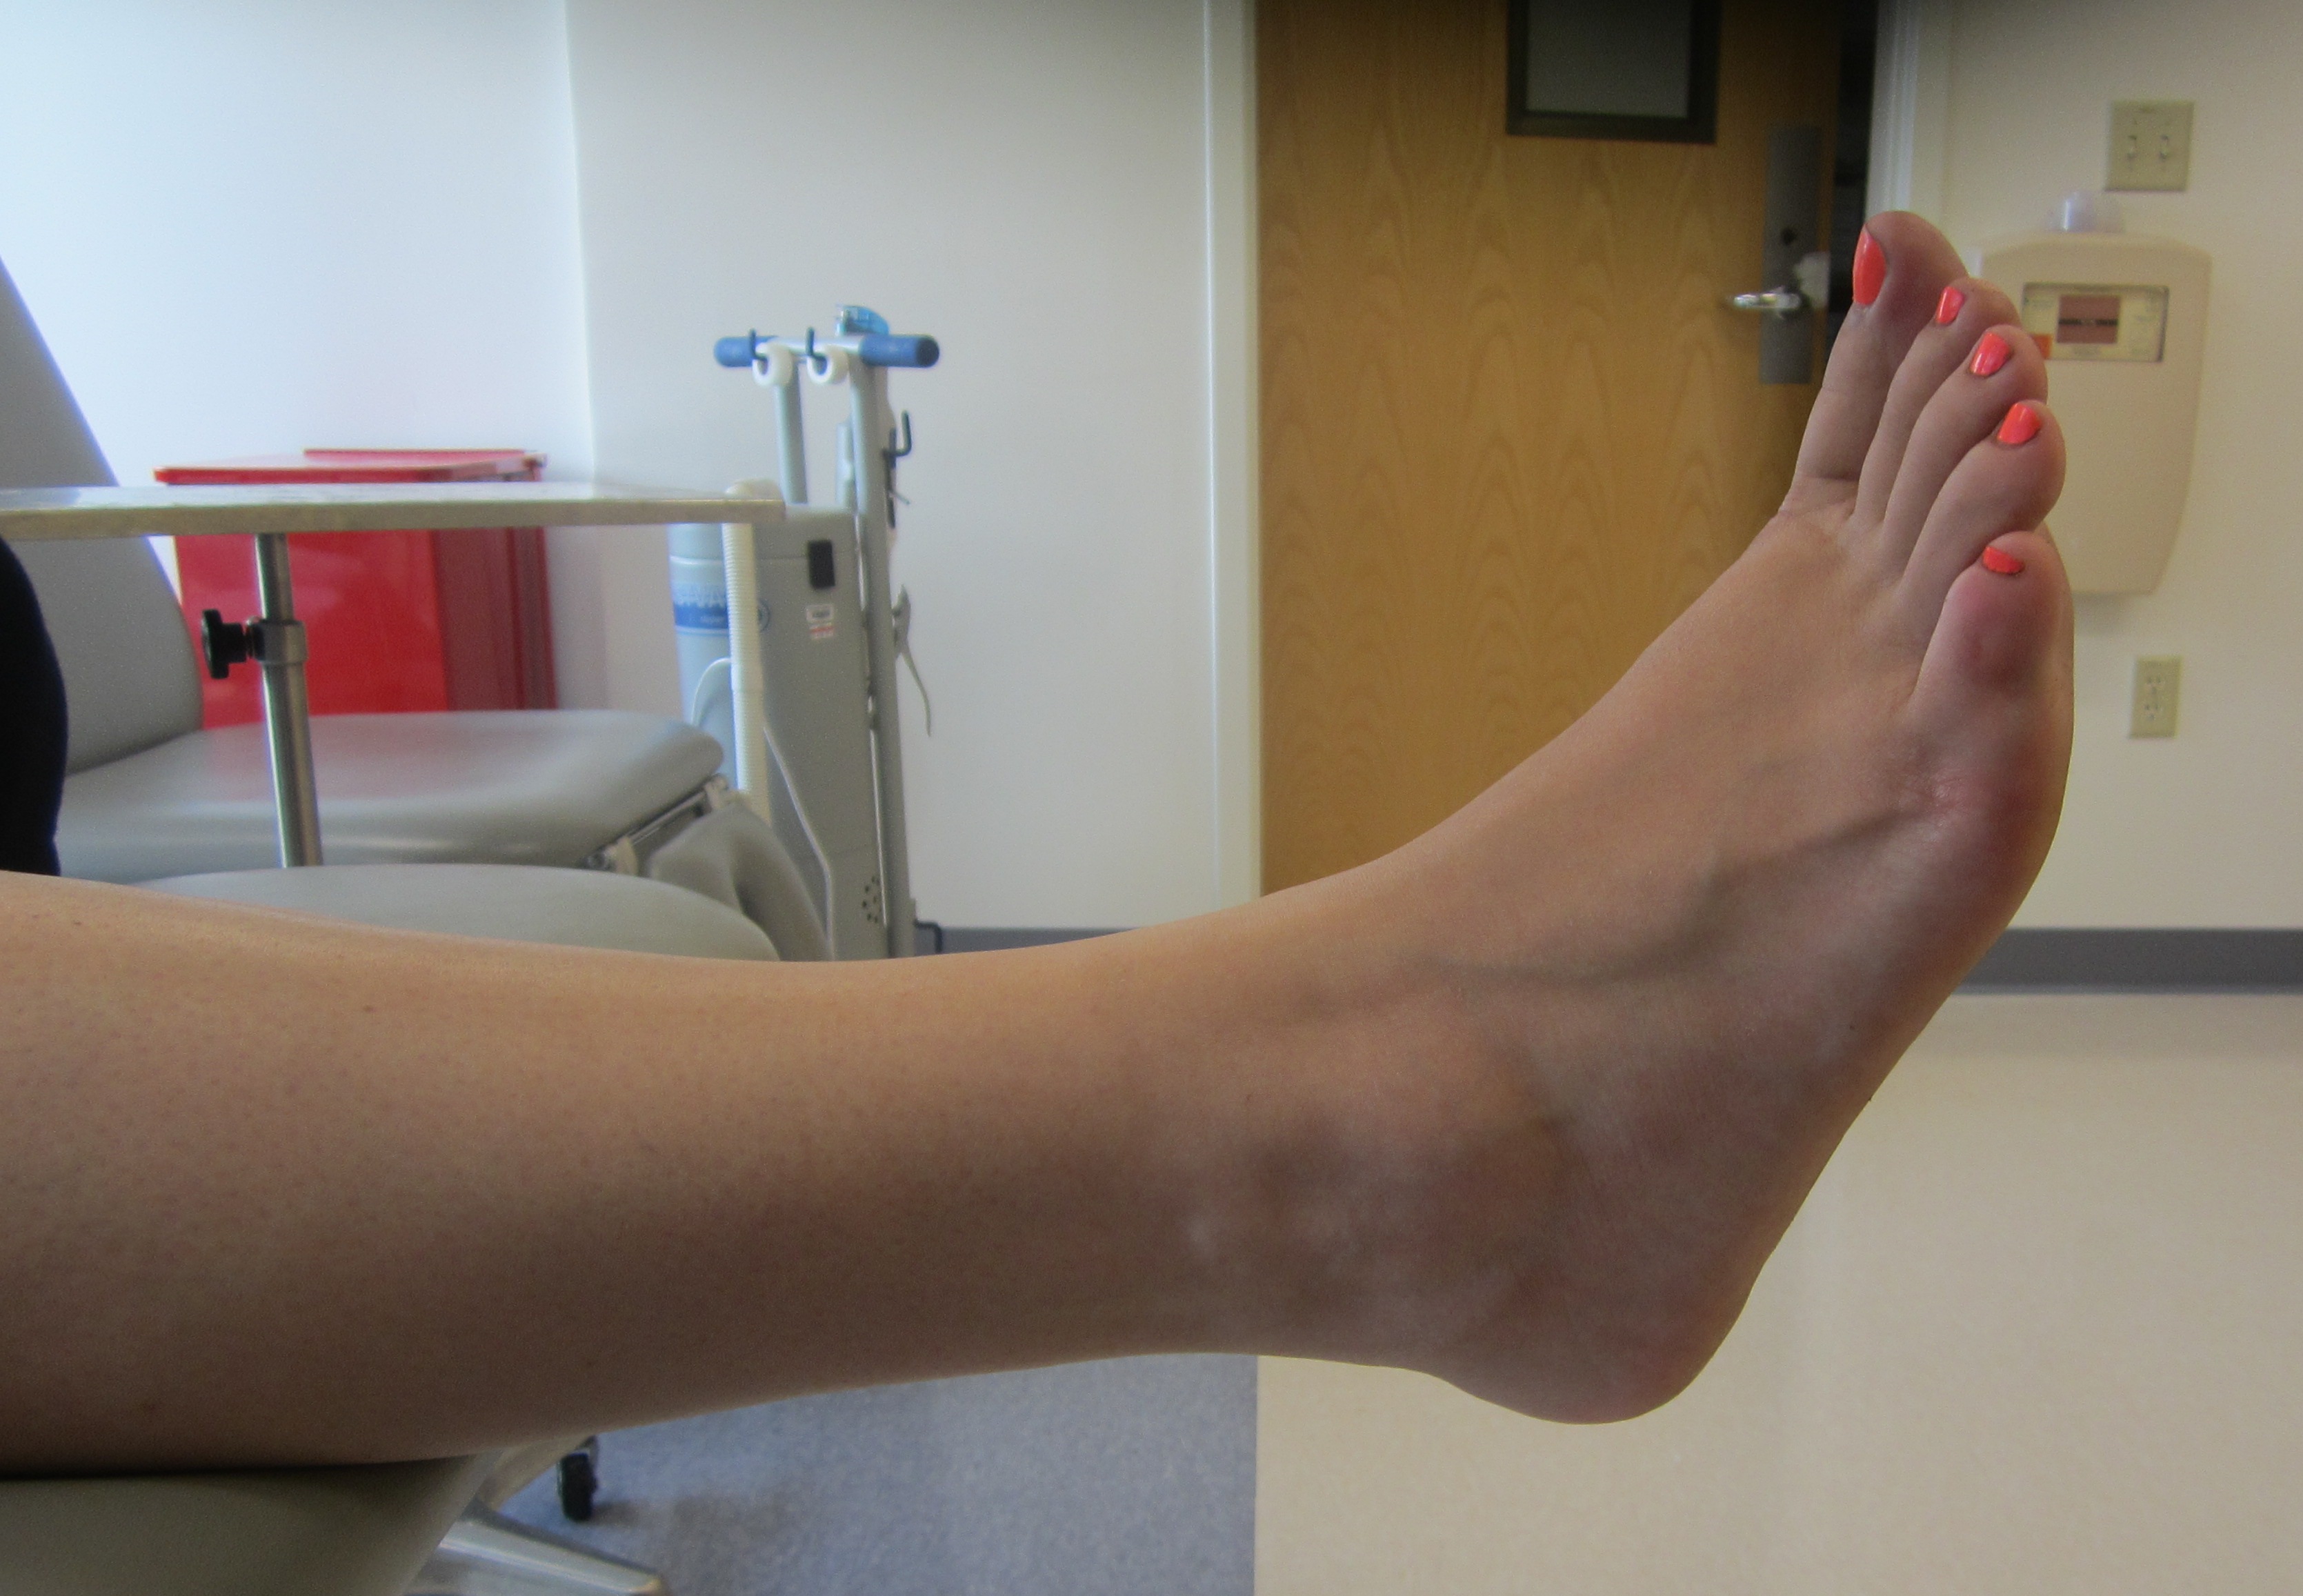
2. Ankle is ready for taping.

3. Place one pad over the front of the ankle and the other over the back of the ankle.
These pads will help prevent blisters. Then cover the foot and ankle with pre-wrap
going from the arch of the foot up to the start of the calf muscle. Use the spray adhesive to help
secure the pre-wrap. Apply the spray adhesive according to the manufacturer's instructions,
and only apply as high as the pre-wrap will be placed.

4. Place two anchors of athletic tape at either end of the pre-wrap as shown.
_new8.12.14.jpg)
_8.12.14.JPG)
5. Place a stirrup of athletic tape starting from the inside of the ankle, under the heel
and attaching to the other side of the anchor of athletic tape. Add two more stirrups
of athletic tape so you have three total.

6. Close up all areas of pre-wrap.
_new_8.12.14.jpg)
_8.12.14.JPG)
7. Create a figure 8 by starting on the inside and wrapping around the lower leg, then crossing over the top of the ankle and continuing to wrap under the arch.
_8.12.14.JPG)
_new_8.12.14.jpg)
8. Tape around the heel for a “heel lock.” You can alternate either inside or outside,but make sure to do two “heel locks” for each side.
_8.12.14.JPG)
new_8.12.14.jpg)
9. Complete another figure 8.

10. Close up any open areas of tape and you are finished.
Evaluation
|
|
Poor (1) point |
Fair (2) points |
Average (3) |
Excellent (4) |
Score: |
|
Appearance |
Very unorganized, lack of preparation, ankle tape is unacceptable for level of student. |
Moderately unorganized, ankle tape needs work on appearance and is still below acceptable range for level of student. |
Taping skills still need work, but application is average for level of student. |
Practice is evident and ankle taping is above average for the level of student. |
|
|
Use of Supplies |
ATS left out more than 2 supplies from the ankle tape and or had inappropriate application of tape. |
ATS left out 2 or less supplies from the ankle tape and shows that they need instruction as to apply strips. |
ATS did not leave out any supplies and was able to follow instructions with no issues. |
ATS did not leave out any supplies and was able to complete activity without instructions. |
|
|
Functionality |
ATS applied tape job that would potentially cause blisters and is not functional for an athlete to practice with. |
ATS applied tape that could potentially cause blisters, but it has good bones that need improvement. |
ATS applied tape that would not cause blisters and is acceptable to practice in, but is not excellent. It is lacking in either (tightness, correct placement of strips, or too tight). |
ATS applied tape that is functional for practice and would not cause blisters and is above average quality for the level of student. |
|
|
Efficiency |
ATS applied tape in a non-efficient manner, took more than 7+ minutes to apply full tape job, and strips are not adequate. |
ATS applied tape in a non-efficient manner took them more than 5+ min to complete tape job. |
ATS applied tape that effectively in under 5 min to allow the athlete to return to play within a reasonable amount of time. |
ATS applied tape very effectively and in an amount of time and with quality that is above average for the level of student. |
|
Conclusion

From this lesson you should have learned how to appropriately and effeciently applied an ankle tape job. You should have been able to improve on your skills and now have learned a skill that will last throughout your career. The most common way to tape the stir-ups for the ankle are medial to lateral. Do you know why??? Do you know when it would be appropriate to apply them Lateral to medial? These are things you should try to understand before you are considered profecient in this area of athletic training and would be very benefical to know the correct answer to. Overall, I hope that you can take away an imporant skill from this lesson and that it will carry on with you throughout your career.
Credits
Clip art:http://www.clipartkid.com/science-conclusion-clipart-conclusion-to-lear…
How to tape an ankle with pictures:http://www.aofas.org/footcaremd/how-to/foot-injury/pages/how-to-tape-an…
Thanks to all these resources you make this WebQuest great!