Introduction
GRADE LEVEL/SUBJECT:
3rd Grade/Social Studies
BEFORE THE LESSON:
Students have already been introduced to different types of landforms and their characteristics via a Powerpoint lesson. Using the Powerpoint for reference, students have created “mini-books” with illustrations and physical characteristics of each landform.
LESSON INTRODUCTION:
-
Recap what we’ve already discussed: “For the last couple days, we’ve been talking about the different kinds of landforms. Today, we’re going to review those landforms and we’ll get the opportunity to see some examples up close.”
-
Short Youtube video to engage and review: Introduce the some of the landforms we’ll be focusing on, including mountains, mesas, and islands.
-
Introduce our Google Earth “virtual field trip"
Task
Students will identify key characteristics of different types of landforms and provide examples found in the United States. Students will construct accurate visual representations of two or three of these landforms using clay models.
Process
-
Lesson introduction
-
Youtube video
-
Introduce Google Earth
-
-
Pass out “Virtual Field Trip Itinerary”
-
Begin Google Earth tour (Mount Rainier, Canyonlands National Park, Snake River Canyon, Santa Catalina Island, Painted Desert, Loess Hills)
-
-
Example of similar tour
-
For each landform, take time to zoom in/rotate, examine, and explore features up close
-
Take time for discussion on each landform:
-
Have students ever visited this landform or another like it?
-
What characteristics of the landform do they notice?
-
Is there anything that surprises them/is different than expected?
-
How does this landform compare to others — differences/similarities?
-
-
-
When tour is complete, review as a class
-
What were some of their favorite landforms? Why?
-
Can they think of any other locations of these landforms?
-
What types of landforms can we find in our community?
-
-
Have students break into their assigned partners or groups of three to brainstorm and decide which two to three landforms they would like to create during the next day’s lesson
Evaluation
Evaluation/Assessment will take place the next day in our follow-up activity.
-
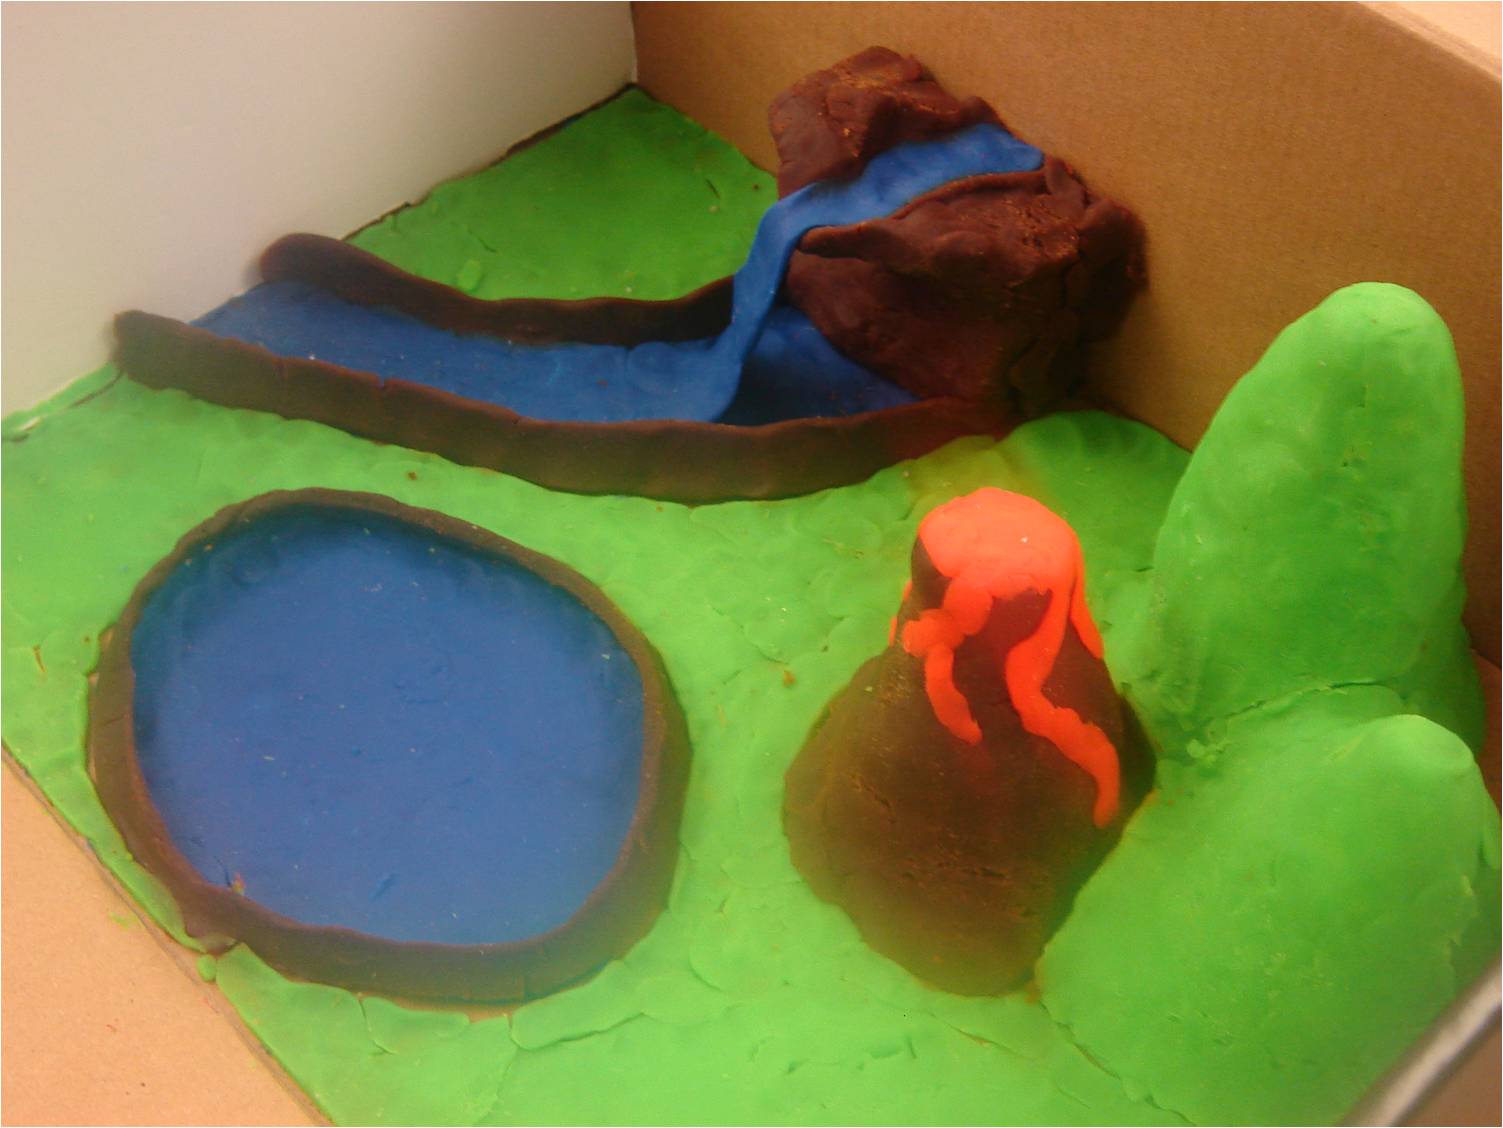
With a partner, students will select two or three landforms and create visual representations using Model Magic.
-
Students will accurately label each landform with its name and a specific example (e.g. “Mountain, example: Mt. Rainier)
Conclusion
This lesson will help students better visualize the different kinds of landforms and their features. The follow-up lesson, using Model Magic, gives them an opportunity to connect with the curriculum in a tactile way.
Teacher Page
I am a MAT student at NEIU, pursuing my Masters in Elementary Education. I would love to teach third or fourth grade, but will be happy with anywhere I end up.
This Webquest is part of my final project, a "Technology in the Classroom" lesson plan.