Introduction
INTRODUCTION
Amidst the bells and whistles of the digital revolution, preservation microfilming quietly maintains its status as a highly valued and widely practiced preservation reformatting strategy. And why not?
The enduring popularity of preservation microfilm is because of its practicality. Unlike its digital counterpart, microfilm is the product of a nearly static, tested technology that is governed by carefully crafted national standards. When created and stored according to these standards, microfilm boasts a life expectancy of 500+ years.It is also worth noting that, while digital data require use of a sophisticated retrieval system to access their treasures, microforms (i.e., microfilm and microfiche).
The access potential of microforms admittedly pales in comparison with that of digital technology. Still, microforms can enhance access to information that would otherwise be unavailable because the original item is at a distant site or is vulnerable to damage and/or loss through handling. Also, microforms are relatively inexpensive to produce and to copy.
One key indicator of the continuing relevance of preservation microfilming is its ongoing support at the national level.
Task
Explain and explore further the use of Microforms, advantages and disadvantages.
.jpg)
Process
How to Use (Microfiche and Microfilm)
1. To begin, turn on the Microfilm machine; the power button is located on the right side of the machine’s monitor in the bottom far left of the side wall of the monitor.
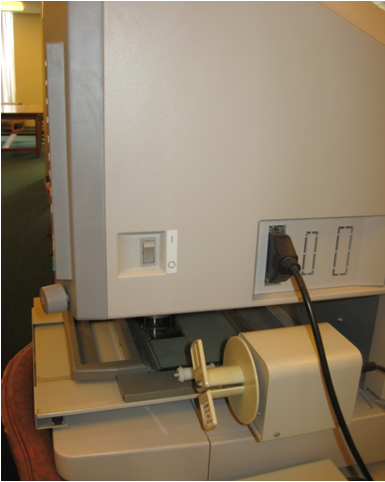
2. As the machine is turning on and warming up, you can start to load the reel of film you would like to use. Remove the film from its box, find the loose end, and holding the loose end in your right hand, load the reel onto the left-hand spoke.

3. After the reel is mounted, take the free end of the film and slip it between the two layers of glass plating under the magnifying glass. Make sure that film goes under the first white roller before going between the [glass] plates. Once the film end reaches the other edge of the glass, run the film under the second white roller and up towards the receiving spool and spoke unit. The film end should then be inserted into the slot on the receiving spool, which you can then give a turn to start the winding process.
4. To start the reels rolling, locate the knob on the right side of the monitor. Turning it to the right “plays” the film; turning it to the left “rewinds” the film back onto its original reel. As the film passes along, the screen will begin to show the articles/documents; using the controls on the microfilm machine, locate and focus your first image.
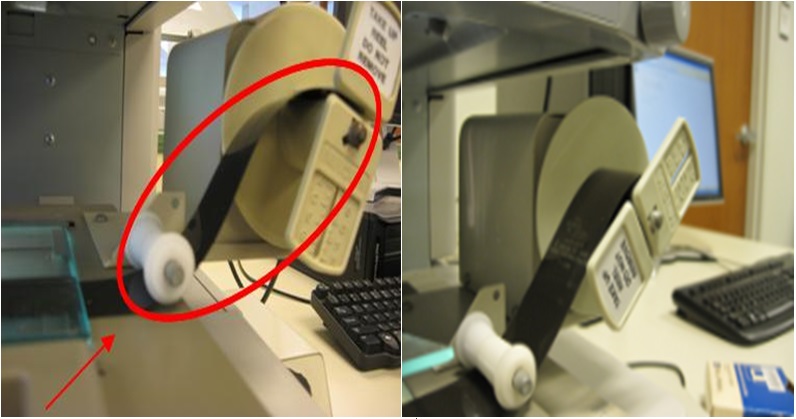
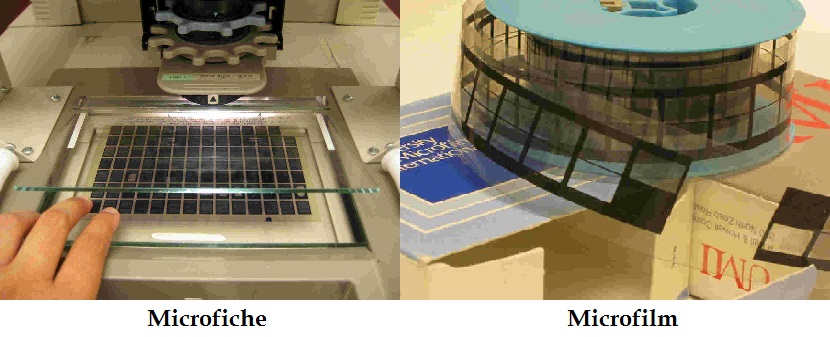
The only difference between Microfiche and Microfilm is the way they are store Microfiche is stored in a card form and Microfilm is stored in a reel or film.
[video:http://www.youtube.com/watch?v=hBKb2CHcKYU width:544 height:480 align:center]
Click here for more information.
_4.jpg)
Evaluation
1. What is Microform?
2. Enumerate the four types of Microform and which of this are the most common?
3. Give at least 3 advantages and disadvantages of Microforms.
4. In your own opinion which type of tools will you preffer to use as storage in projected materials.
5. With the video being shown how will you discribe the process of using the microform, is it convenient? is it effecient and effective?

Conclusion
In the end the reader will be able to differentiate and give conclusion about the modern and old kind of storage. Which of those will you preffer most to use._1.jpg)
Teacher Page
Name : Jennifer Joy L. del Agua
Educational Technology
Certificate in College Teaching -Block A Tuesday Class
Professor : Mr. Gerard Protacio